7 Steps to Carve a Pumpkin Like a Pro
09/27/17
Pumpkin carving is a great Halloween tradition, and an especially fun activity to do with kids. Once the pumpkins are carved and lit, they make for a great Halloween decoration either on your fronts steps or somewhere around your home. Here are several steps on how to carve a pumpkin like a professional!
1.) Pick out the perfect pumpkin(s)
Head to your local supermarket, farmer’s market or pumpkin patch and pick out several pumpkins you and your family would like to take home. Taking the kids to a pumpkin patch is a fun activity for you and the kids to share together!
When choosing pumpkins to take home and carve, choose ripe pumpkins. You will be able to tell when a pumpkin is ripe by knocking on or tapping it, and if it makes a hollow sound, it is ripe. Be sure to check for bruises, scratches, marks, etc.
2.) Prepare your carving area
Once you have chosen the perfect pumpkins, it’s time to let the carving fun begin! Set up an area in your home, preferably in the kitchen, garage or other area without carpeting that can be easily cleaned. Set out a table, or a large flat and sturdy surface, and cover it with old newspapers or a plastic table cover that you don’t mind throwing away afterwards. Gather all of your carving tools—serrated knife or knives, large spoon or ice cream scooper, tape, dry erase markers, and a bowl to place the pumpkin guts in. Typically, you can find pumpkin carving kits containing all or a majority of these items.
3.) Plan out your design
Decide which type of design you would like to carve into your pumpkin. If you purchased a carving kit, they typically come with stencils you can tape or stick to the pumpkin to guide you. Otherwise, draw on your design with the dry erase marker—it easily washes off if you make a mistake. Be sure to leave enough room at the top of the pumpkin to draw a large circle around the stem in order to create a lid. Usually you want the edges of the lid to be two inches from the stem, but this also depends on the pumpkin’s size. Make sure you are able to fit your hand and/or arm inside the lid to remove the pumpkin pulp.
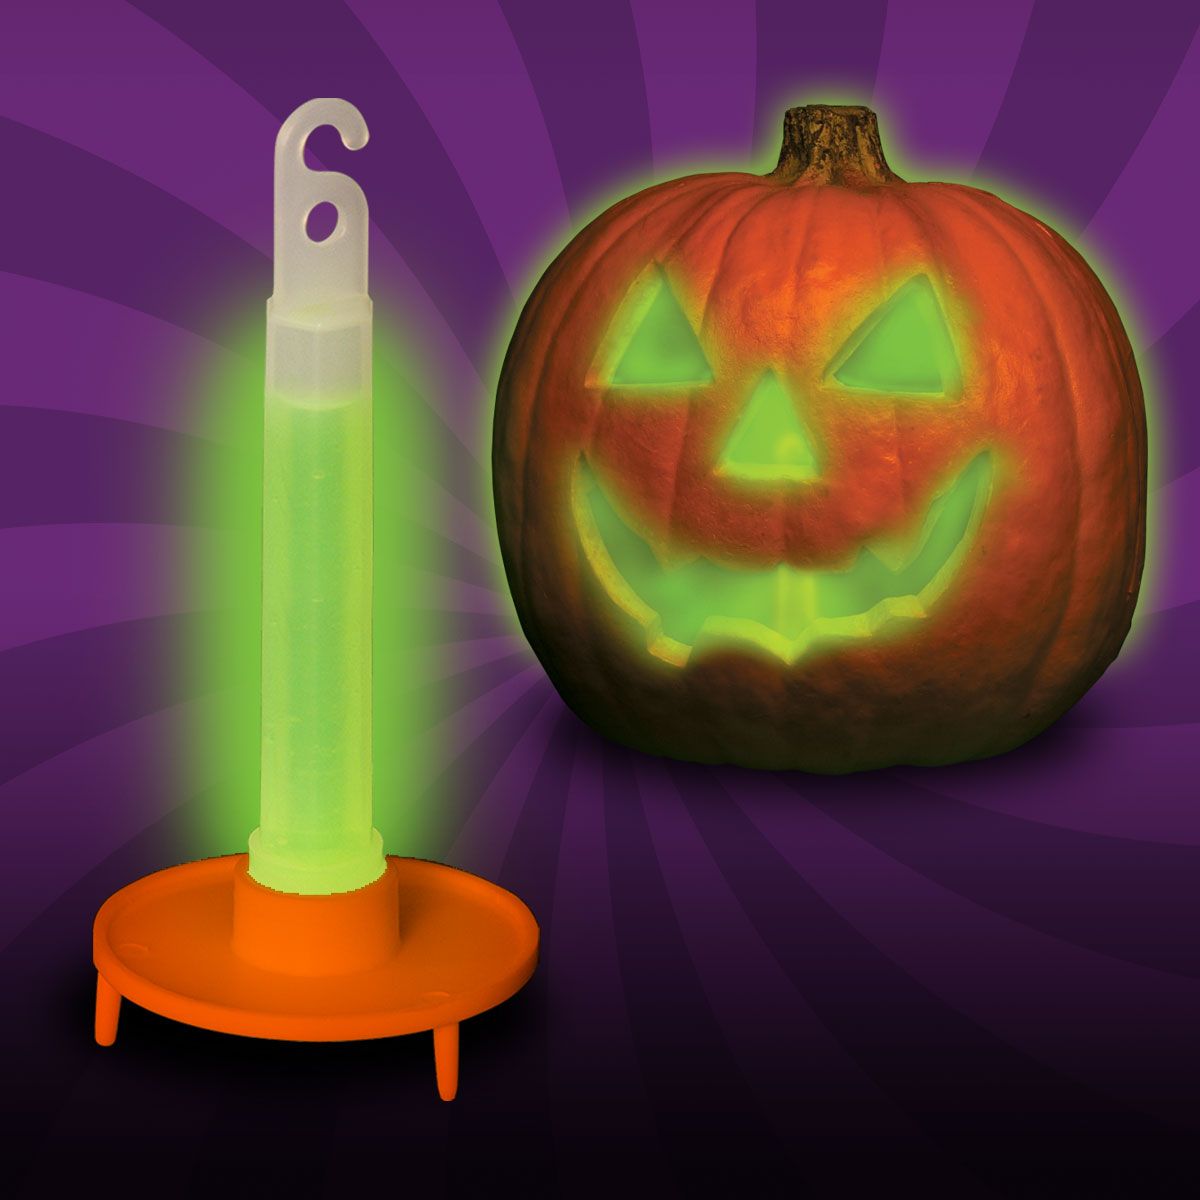
And you don't have to carve your pumpkin! Paint the outside of your pumpkin using glow in the dark paints. Choose a design you would like to follow, or paint freely and let your creativity run wild!
Images via club.chicacircle.com and chemistry.about.com
4.) Cut out the lid of the pumpkin
After you’ve drawn on a circle around the stem for a lid, you can now begin to carve this out. Use the serrated knife from the kit—or of your own—and cut along your drawn on line at a 45 degree angle. This will ensure that the lid will fit on top of the pumpkin without falling in. Once you have carved around the entire pumpkin, remove the lid and begin to gut out the pumpkin using your spoon or scoop. Be sure to cut off the dangling pulp from the lid of the pumpkin.
While removing the pulp from your pumpkin, you can place the seeds in another bowl in order to bake them and eat them as a delicious snack. After all of the pulp is removed from the pumpkin, go through and separate the seeds from the pulp. Once you have separated them all, place them in a pasta drainer and run water over them to remove any remaining pulp. Then place them on a baking sheet and sprinkle with olive oil and salt. Toast them in the oven on 400 degrees Fahrenheit for about 25 to 30 minutes. Then set to cool and enjoy while you finish carving your pumpkins!
5.) Carve your design
After you have removed all of the pulp from your pumpkin, you can begin carving your design. Keep using serrated knives because they will allow you to cut through the pumpkin’s exterior easier. Use a smaller knife when carving intricate details into your pumpkin (pumpkin carving kits typically come with small knives for easy carving).
6.) Add petroleum jelly to the exposed edges of your pumpkin
Rubbing petroleum jelly on the exposed edges of your pumpkin—so it’s face—will help to preserve the pumpkin by keeping the edges moisturized. You can also submerge your pumpkin into cold water for a few hours, upside down and without the lid, once you realize it is becoming slightly dried out. This should help add moisture back into the pumpkin.
7.) Add lights or a candle
Now that you have carved your pumpkin you are ready to display it! Place lights or a candle inside of your pumpkin to make it glow. Using battery powered candles also preserves the pumpkin and does not propose a fire hazard. Use battery powered LED tea lights or flickering LED votive candles for a real candle effect. You could also use bright LED pumpkin lights to make your pumpkin light up in a variety of colors! Simply turn on the LED light to the mode of your choice, and watch as your pumpkin flashes. Or, you could crack a few green glow sticks and stick them inside the pumpkin for an errie green glow.

At Windy City Novelties, it’s our hope that this article inspires you to create a fun and unique party for your loved ones. For more helpful tips on organizing your event, email our dedicated party planning experts at [email protected]. You may also subscribe to our emails for weekly party planning ideas, featured products and more at https://www.windycitynovelties.com/customer/account/create/


